
Table of Contents
- Why Use Google Forms?
- Preparing for the Consent Form
- Create a Consent Form on Google Forms
- Step 1: Open Google Forms
- Step 2: Name Your Form
- Step 3: Choose a Template (Optional)
- Step 4: Add Consent Statement
- Step 5: Include Questions or Statements that Require Agreement
- Step 6: Include Contact Information
- Step 7: Customize Appearance
- Step 8: Settings
- Step 9: Test the Form
- Step 10: Distribute the Form
- Step 11: Collect and Manage Data
Do not index
Why Use Google Forms?
- Easy to Use: Google Forms has a simple, intuitive interface that anyone can navigate.
- Collaborative: Multiple people can work on the same form.
- Customizable: It offers a variety of question types, themes, and templates.
- Integrated: Easily links with other Google services like Sheets and Drive.
- Accessible: Forms can be shared via a link, embedded on a website, or sent via email.
Preparing for the Consent Form
Before you begin creating the consent form, you need to have a clear understanding of what the form will entail. Outline the following:
- Purpose of Data Collection: Be clear on why you are collecting data.
- Data Handling: Explain how data will be stored, used, and disposed of.
- Contact Information: Always provide details for someone who can answer questions about the form.
- Participant Rights: Explain that participation is voluntary and that they can withdraw at any time.
Create a Consent Form on Google Forms
Step 1: Open Google Forms
- Navigate to Google Forms.
- Log in to your Google account if you aren't already.
- Click on the
+ Blankbutton to start a new form.
Step 2: Name Your Form
- Provide a title that succinctly describes what the form is for.
- You may also add a description to provide context or instructions.
Step 3: Choose a Template (Optional)
- If applicable, you can choose a template to suit your requirements.
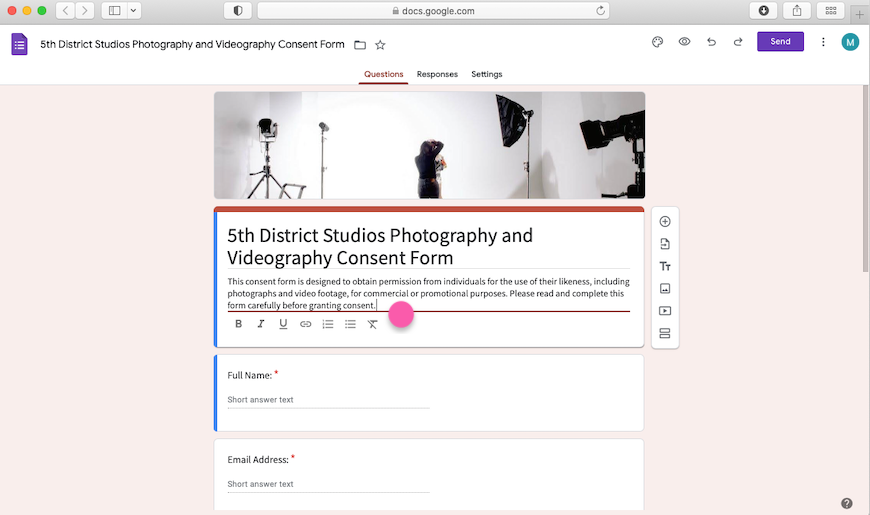
Step 4: Add Consent Statement
- Add a section where you can insert your consent statement.
- You can format the text to make it easy to read.
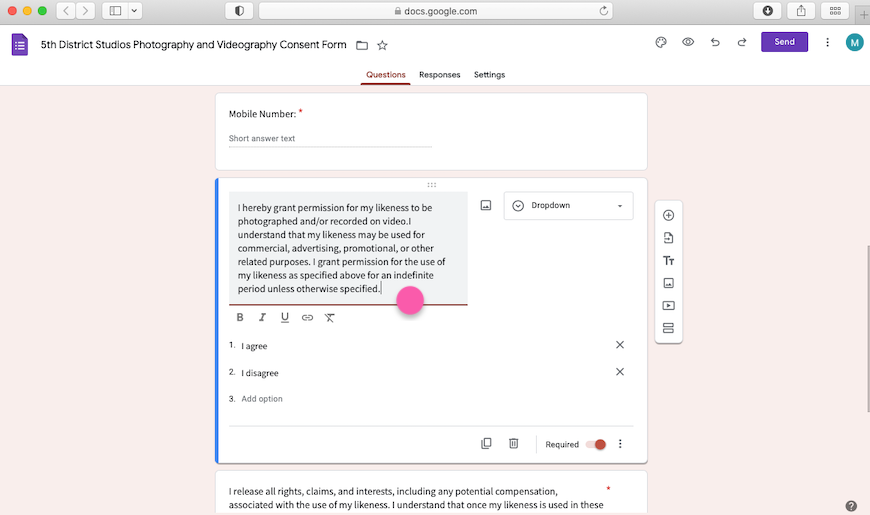
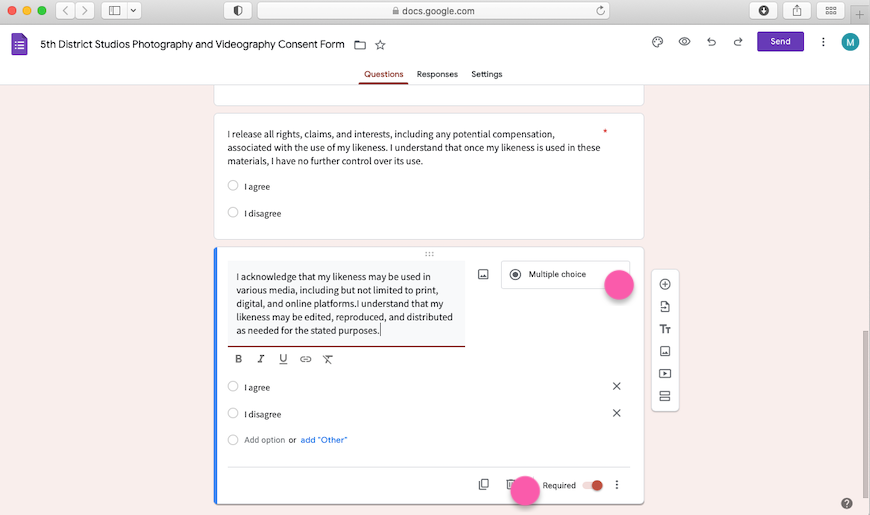
Step 5: Include Questions or Statements that Require Agreement
- After the consent statement, add questions or statements that need agreement.
- Use the
Multiple Choicequestion type to ask if they agree or disagree with the terms.
- Make this question required so participants must make a choice.
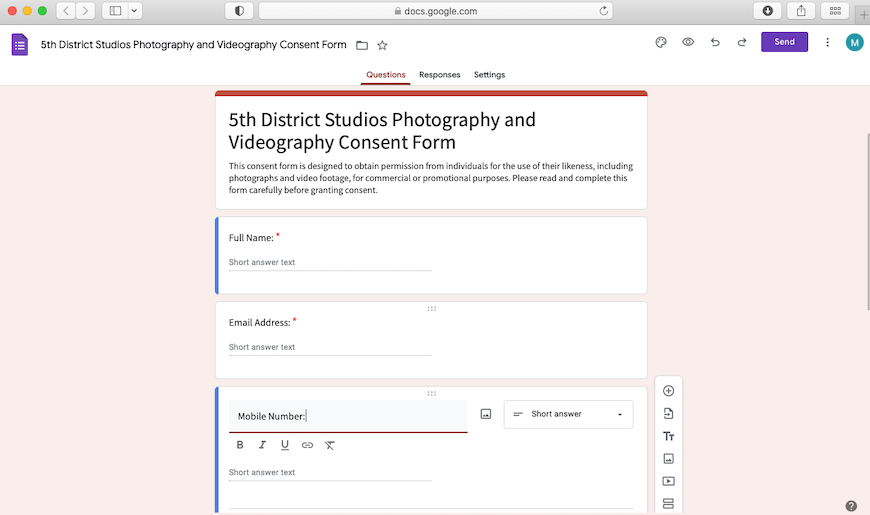
Step 6: Include Contact Information
- Add a section where participants can include their name, email, or other contact information.
- Make sure to specify why you are collecting this information and how it will be used.
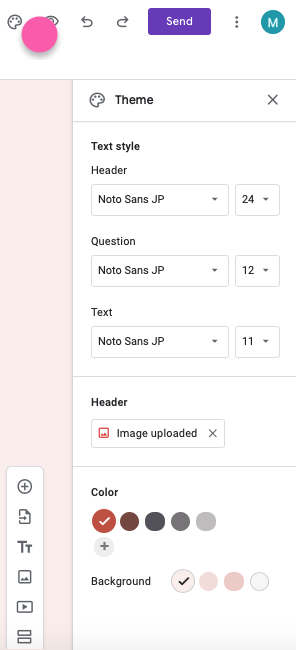
Step 7: Customize Appearance
- Go to
Customize Themeon the top right corner to adjust the appearance of your form.
- You can add images, change colors, and select fonts that align with your branding.
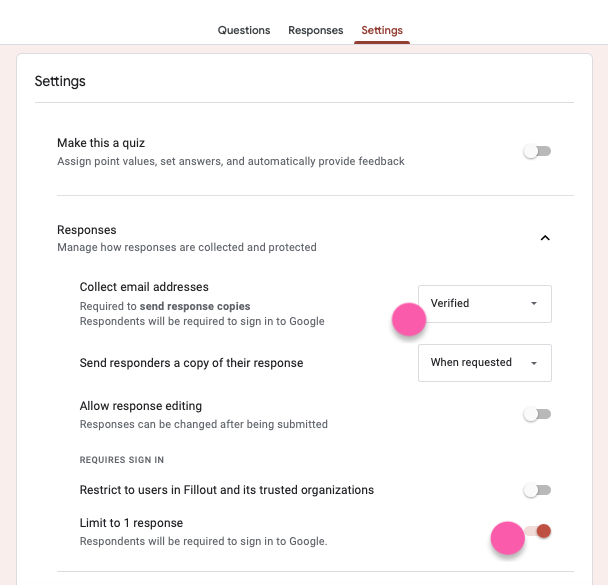
Step 8: Settings
- Click the gear icon on the top right to enter settings.
- Enable collecting of email addresses if needed.
- Ensure that you limit the form to one response per person to maintain data integrity.
Step 9: Test the Form
- Click the
eye iconto preview the form.
- Fill it out to make sure everything is working as intended.

Step 10: Distribute the Form
- Click the
Sendbutton.
- You can send via email, generate a link, or embed it in a website.
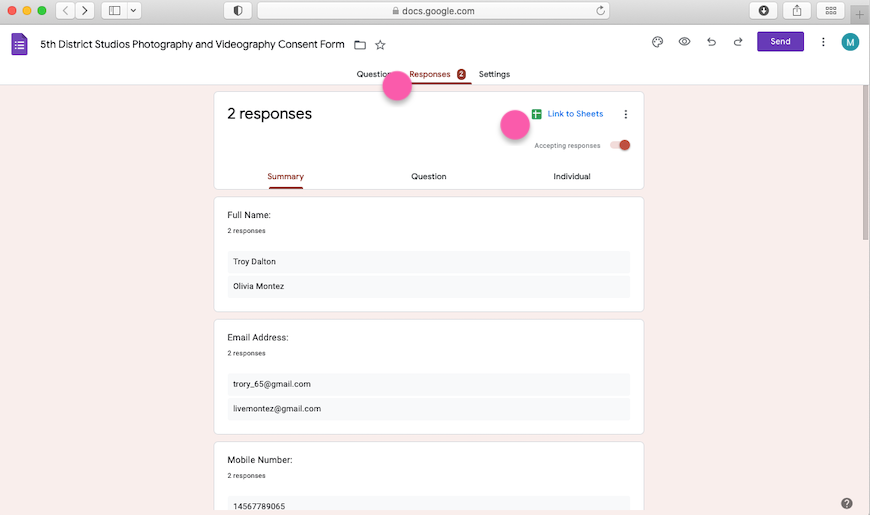
Step 11: Collect and Manage Data
- Responses will be collected in Google Forms, but you can also view them in Google Sheets by clicking the spreadsheet icon.
Google Forms makes it relatively simple to create a consent form. Always make sure that the form aligns with legal requirements and ethical guidelines related to your specific project or research. If in doubt, consult with a legal advisor. For consent forms with more powerful and customizable fields, check out Fillout forms. Pre-made consent form templates are also available, and can be customized depending on your needs. Happy form-making!

Written by
Dominic is the co-founder of Fillout.com. He previously worked on engineering & product at Retool. Prior to Retool, he started Cheer ( acquired by Retool in 2020).