
Table of Contents
Do not index
Build a Quiz
Step 1: Start a New Form
Navigate to Google Forms. Log in to your Google account if prompted. Click on the
+ Blank button.Step 2: Make Your Form a Quiz
Go to Settings. Toggle the
Make this a quiz switch. Here, you can also customize Respondent settings and Default question point value.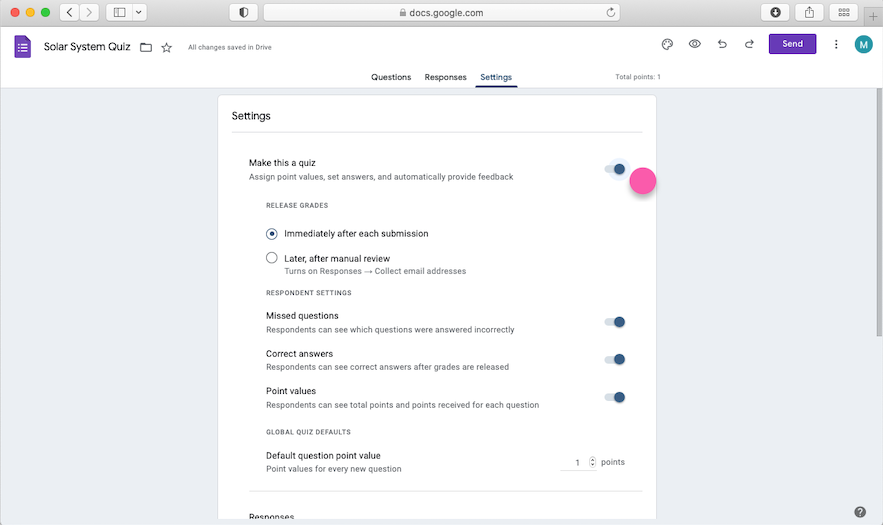
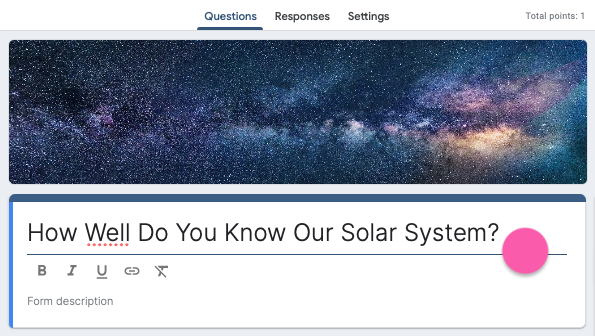
Step 3: Title Your Quiz
Head back to Questions. Edit Untitled form with a clear and descriptive title. A well-crafted title aids participants in understanding the quiz's purpose.
Step 4: Add Questions
Click the
+ button to add a new question. Choose from various question types such as multiple choice, short answer, or dropdown. Input your question and respective answer options.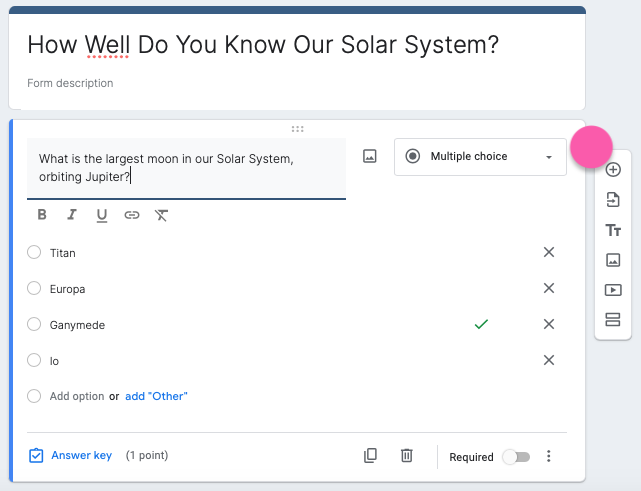
To randomize the order of the options, click the
⋮ symbol on the lower right corner of the question followed by Shuffle option order.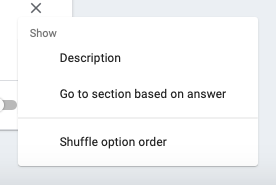
Step 5: Organize Sections (Optional)
If your quiz necessitates distinct sections, use the
section icon to add them. This feature ensures a structured flow and logical organization of questions.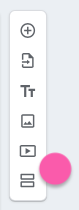
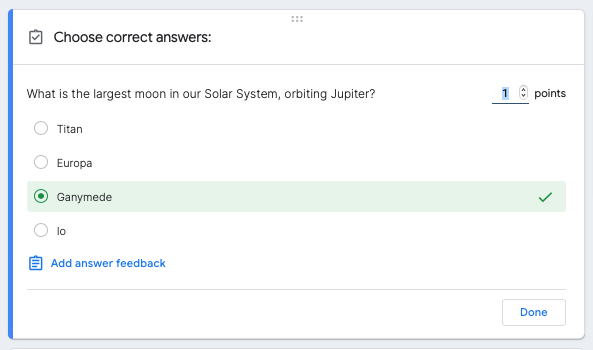
Step 6: Add Answer Key (For Graded Quizzes)
For quizzes intended for assessment purposes, set the answer key for each question by clicking
Answer key. 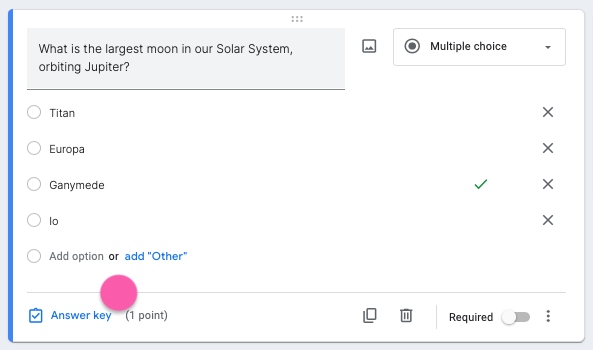
Then, select the correct answer(s) from there. You can also customize how many points each question is worth by editing the number of points.
Step 7: Customize Your Quiz's Design
Click the
paint palette icon to change the look of your form. Edit the text style, add a header image, and change the colors.
Step 8: Test Your Quiz
Click the
eye icon to preview how it will appear to participants, and answer it. This step ensures that the quiz layout is optimal and that everything is configured correctly.
Step 9: Share Your Quiz
Once satisfied with your quiz, click
Send in the top-right corner. Choose your preferred method of dissemination, whether through a link, email, or embedded on a website.Step 10: View Responses
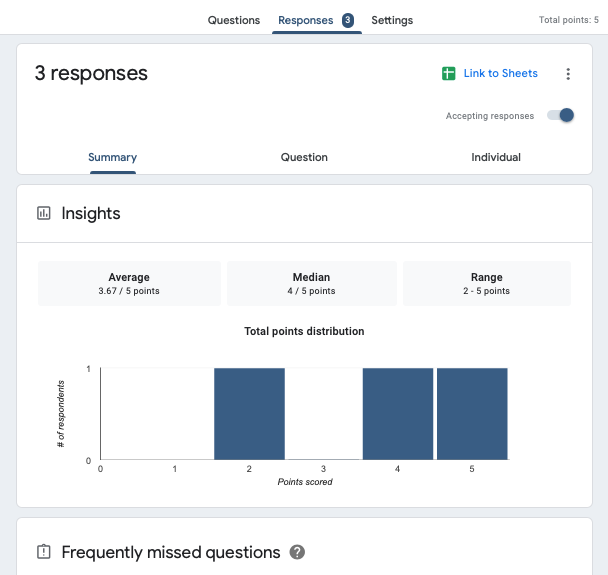
As participants complete the quiz, real-time response tracking is available. Navigate to the Responses tab on the top menu to access a summary or detailed responses.
In conclusion, creating quizzes on Google Forms is a straightforward process that lets you to gather information efficiently. However, if you're looking to design more advanced quizzes, such as lead generation forms, training and onboarding quizzes, product recommendation tests, and the like, consider exploring Fillout. Happy quiz-making!

Written by
Dominic is the co-founder of Fillout.com. He previously worked on engineering & product at Retool. Prior to Retool, he started Cheer ( acquired by Retool in 2020).