
Table of Contents
Do not index
Airtable has become a go-to platform for managing databases in a highly customizable and user-friendly way. One of its most powerful features is the ability to create forms that can capture data directly into an Airtable base. Sometimes, however, you might want to prefill these forms with existing data or set default values to save time or guide users through the form-filling process.
In this blog post, we’ll guide you through the steps to prefill a form in Airtable. Let's get started!
Prerequisites
- An active Airtable account.
- A base with a form view set up.
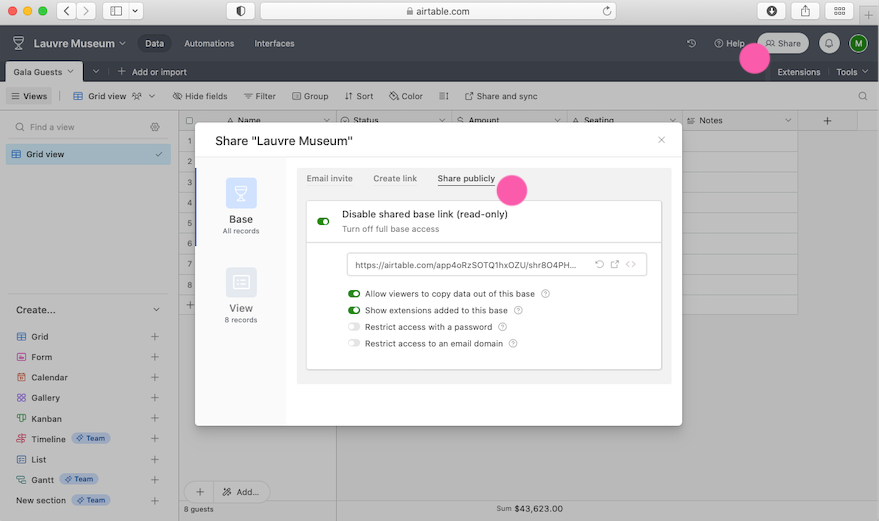
Step 1: Locate the Form URL
- Navigate to the base where you have created a form.
- Click on the "Share" button on the form view, typically found at the top-right corner of the screen.
- You will see an option to share the form via a URL. Copy this URL, as you'll be modifying it to prefill form fields.
Step 2: Understand the URL Anatomy
An Airtable form URL usually looks like this:
<https://airtable.com/><form_id>?prefill_fieldName=value&prefill_anotherFieldName=anotherValue
form_idis the unique identifier for the form.
prefill_fieldName=valueis the pair that specifies the name of the field you wish to prefill and the value you want to set.
Step 3: Identify the Field Names
- Go back to your form view in the Airtable base.
- Identify the names of the fields you wish to prefill. Make sure to get the exact names, as they are case-sensitive.
Step 4: Construct the Prefill URL
- Start with the base URL you copied earlier.
- Add
?prefill_followed by the field name, an equals sign (=), and the value you wish to prefill.
- For multiple fields, separate each
prefill_fieldName=valuepair with an ampersand (&).
Example:
If you have a field named
Name and another named Email, and you wish to prefill them with "John Doe" and "john.doe@email.com" respectively, your URL will look something like this:<https://airtable.com/><form_id>?prefill_Name=John%20Doe&prefill_Email=john.doe@email.com
Note: For values that contain spaces or special characters, you may need to encode them. In the example above, the space in "John Doe" is replaced with %20.
Step 5: Test the Prefill URL
Paste the newly constructed URL into a web browser to ensure the form fields are prefilled as expected.
Step 6: Share the Prefill URL
Once you are satisfied with the results, you can share this URL with your users. Anyone who opens the form via this URL will see the prefilled values in the respective fields.
Conclusion
Prefilling a form in Airtable can save time and reduce errors, thereby improving the user experience. It's a simple yet effective way to optimize data capture in your workflows. By following these steps, you can easily create prefill URLs for any Airtable form. Happy Airtabling!

Written by
Dominic is the co-founder of Fillout.com. He previously worked on engineering & product at Retool. Prior to Retool, he started Cheer ( acquired by Retool in 2020).